
Difficulty
3/10
Time Required
15 Min
Steps
11
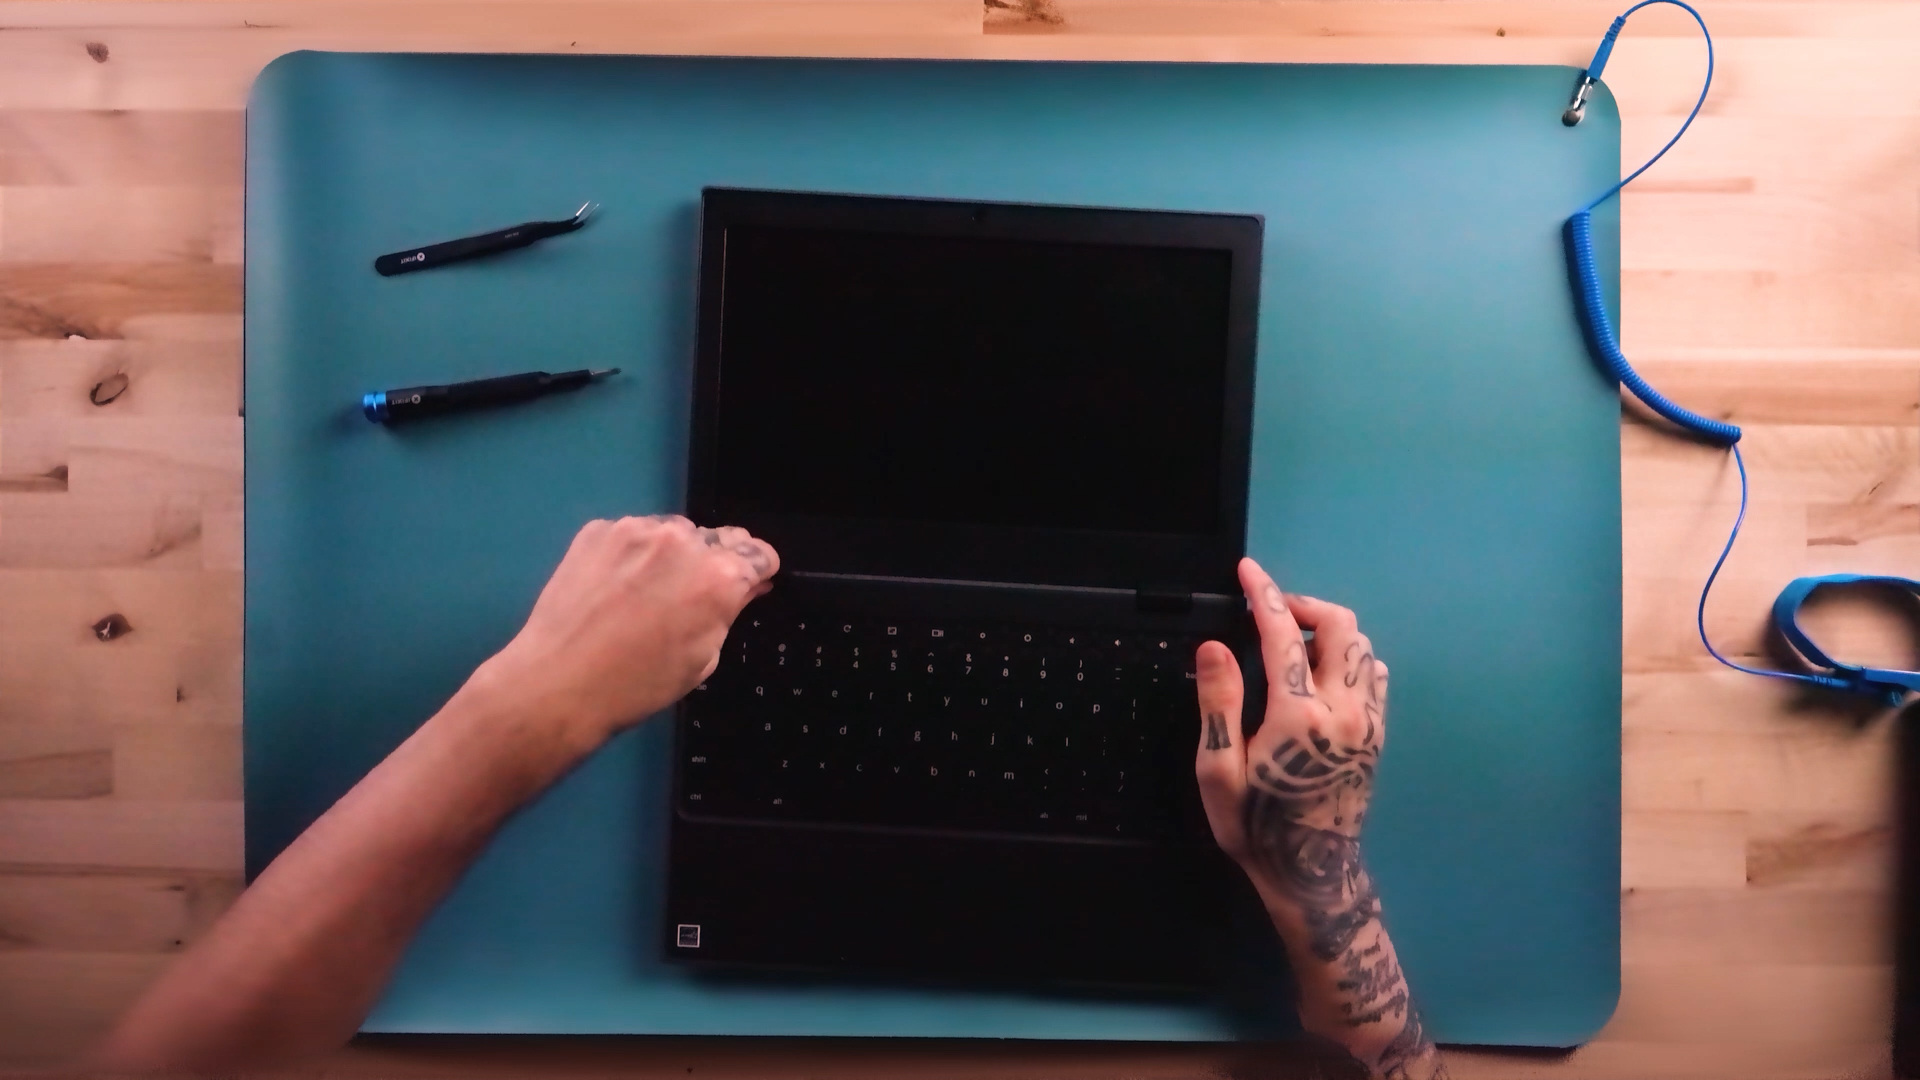
Step 1

- Power down the device
Step 2

- Insert the plastic pry tool between the LCD and bezel and work your way around the edges
Step 3
- Place the pry tool inside the small gap in the hinge covers and separate them from the bezel
Step 4

- Remove the bezel and place it to the side
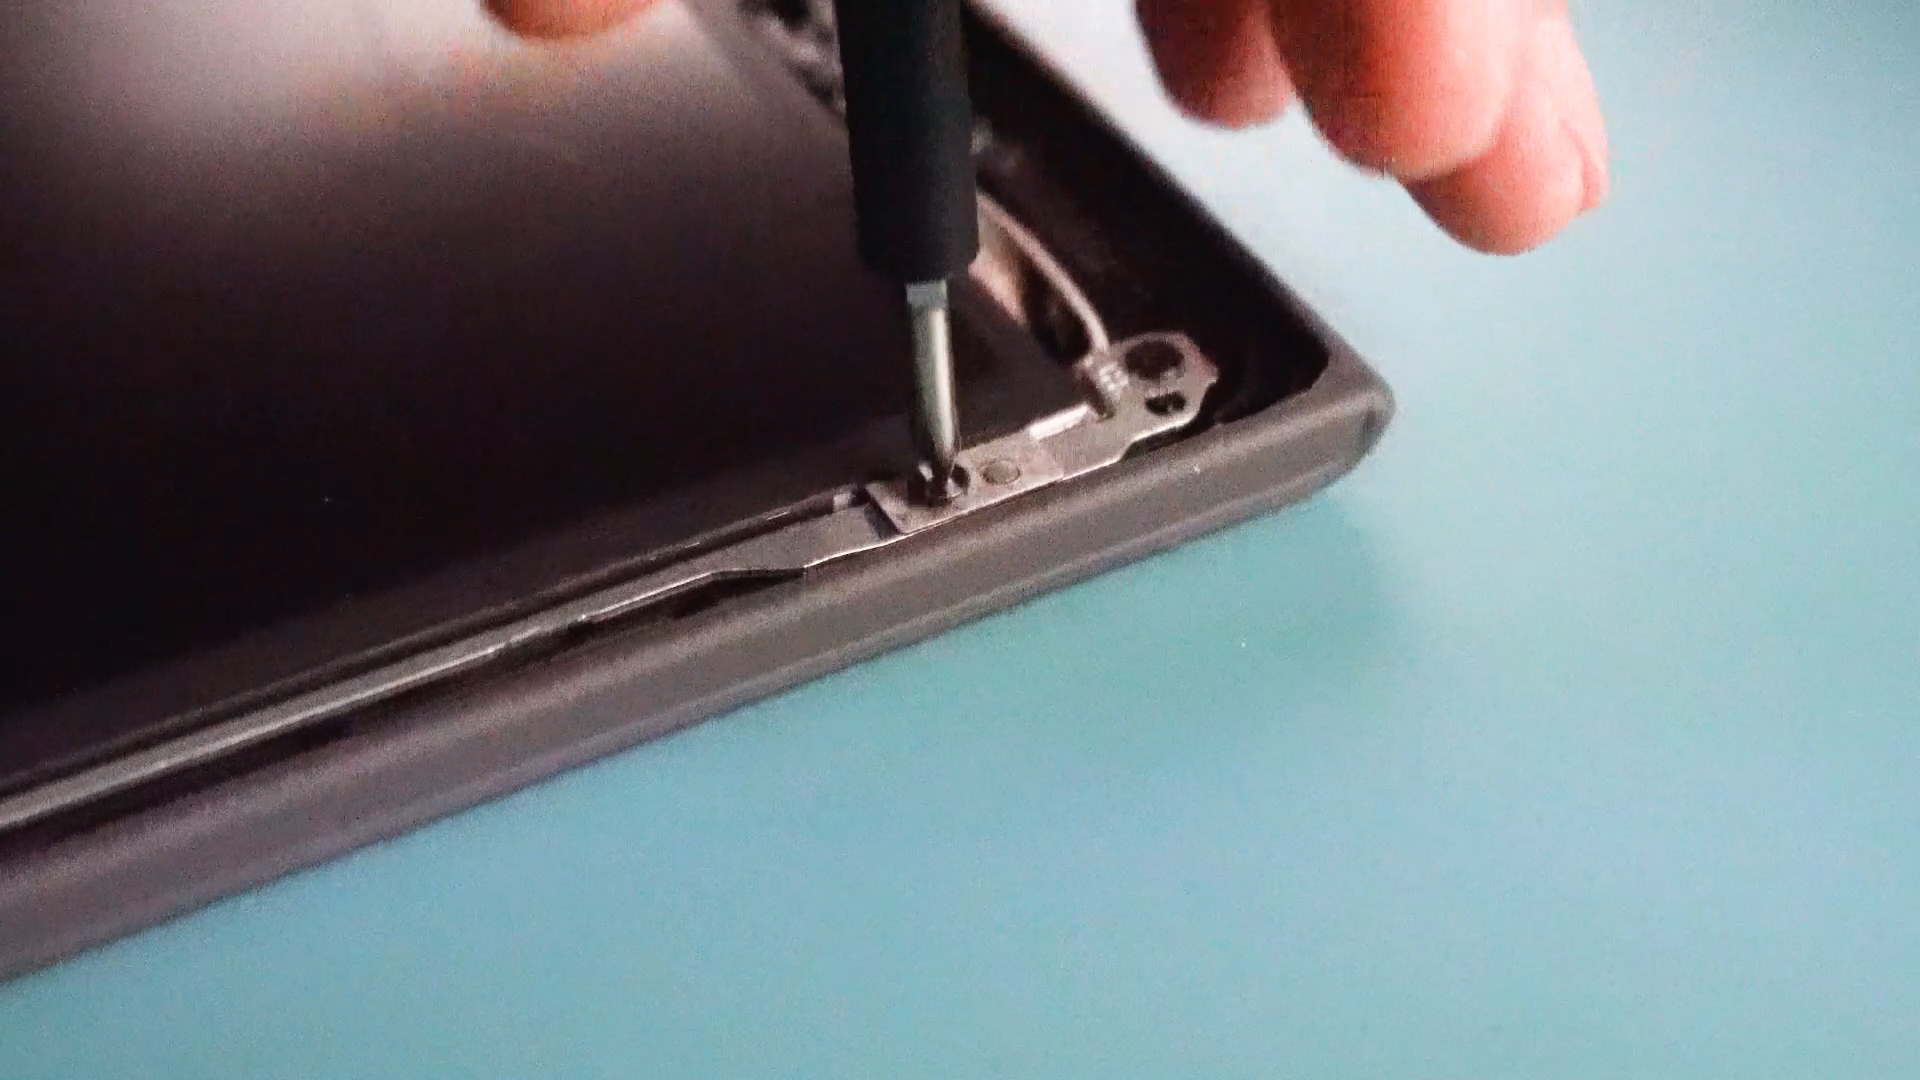
Step 5

- Remove the 4 screws holding the LCD in place
Step 6
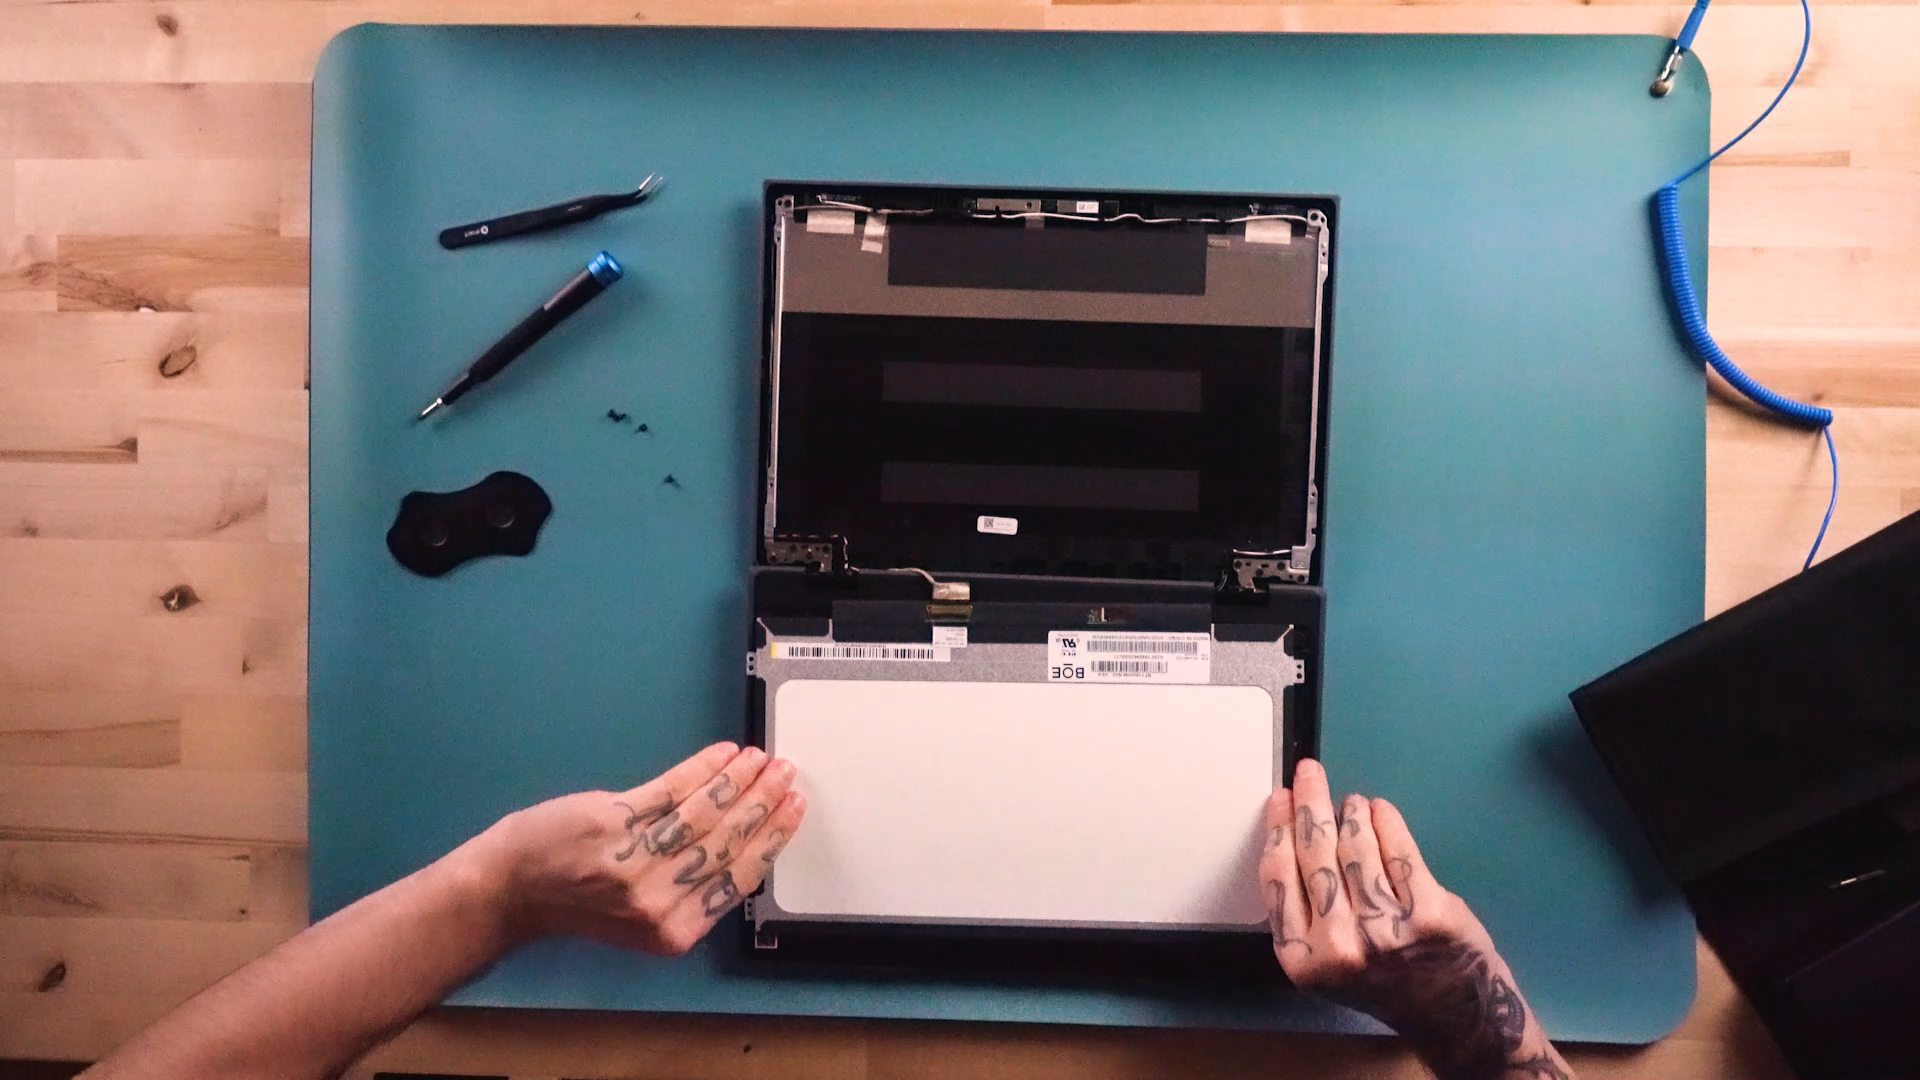
- Fold the LCD face down onto the keyboard assembly
Step 7

- Peel back the tape holding the LCD cable in place, lift the metal tab, and separate the LCD cable from the LCD
Step 8

- Place your new LCD face down on the keyboard assembly, plug in the LCD cable, and lower the metal tab
Step 9
- Line up the LCD brackets and install the 4 screws to secure the LCD in place
Step 10

- Make sure the LCD cable is in the designated area
Step 11

- Snap the bezel back into place