The store will not work correctly when cookies are disabled.
Step 1
-
If this is your first time replacing the LCD on this device you should use a heat gun or pad to loosen the adhesive on the Bezel
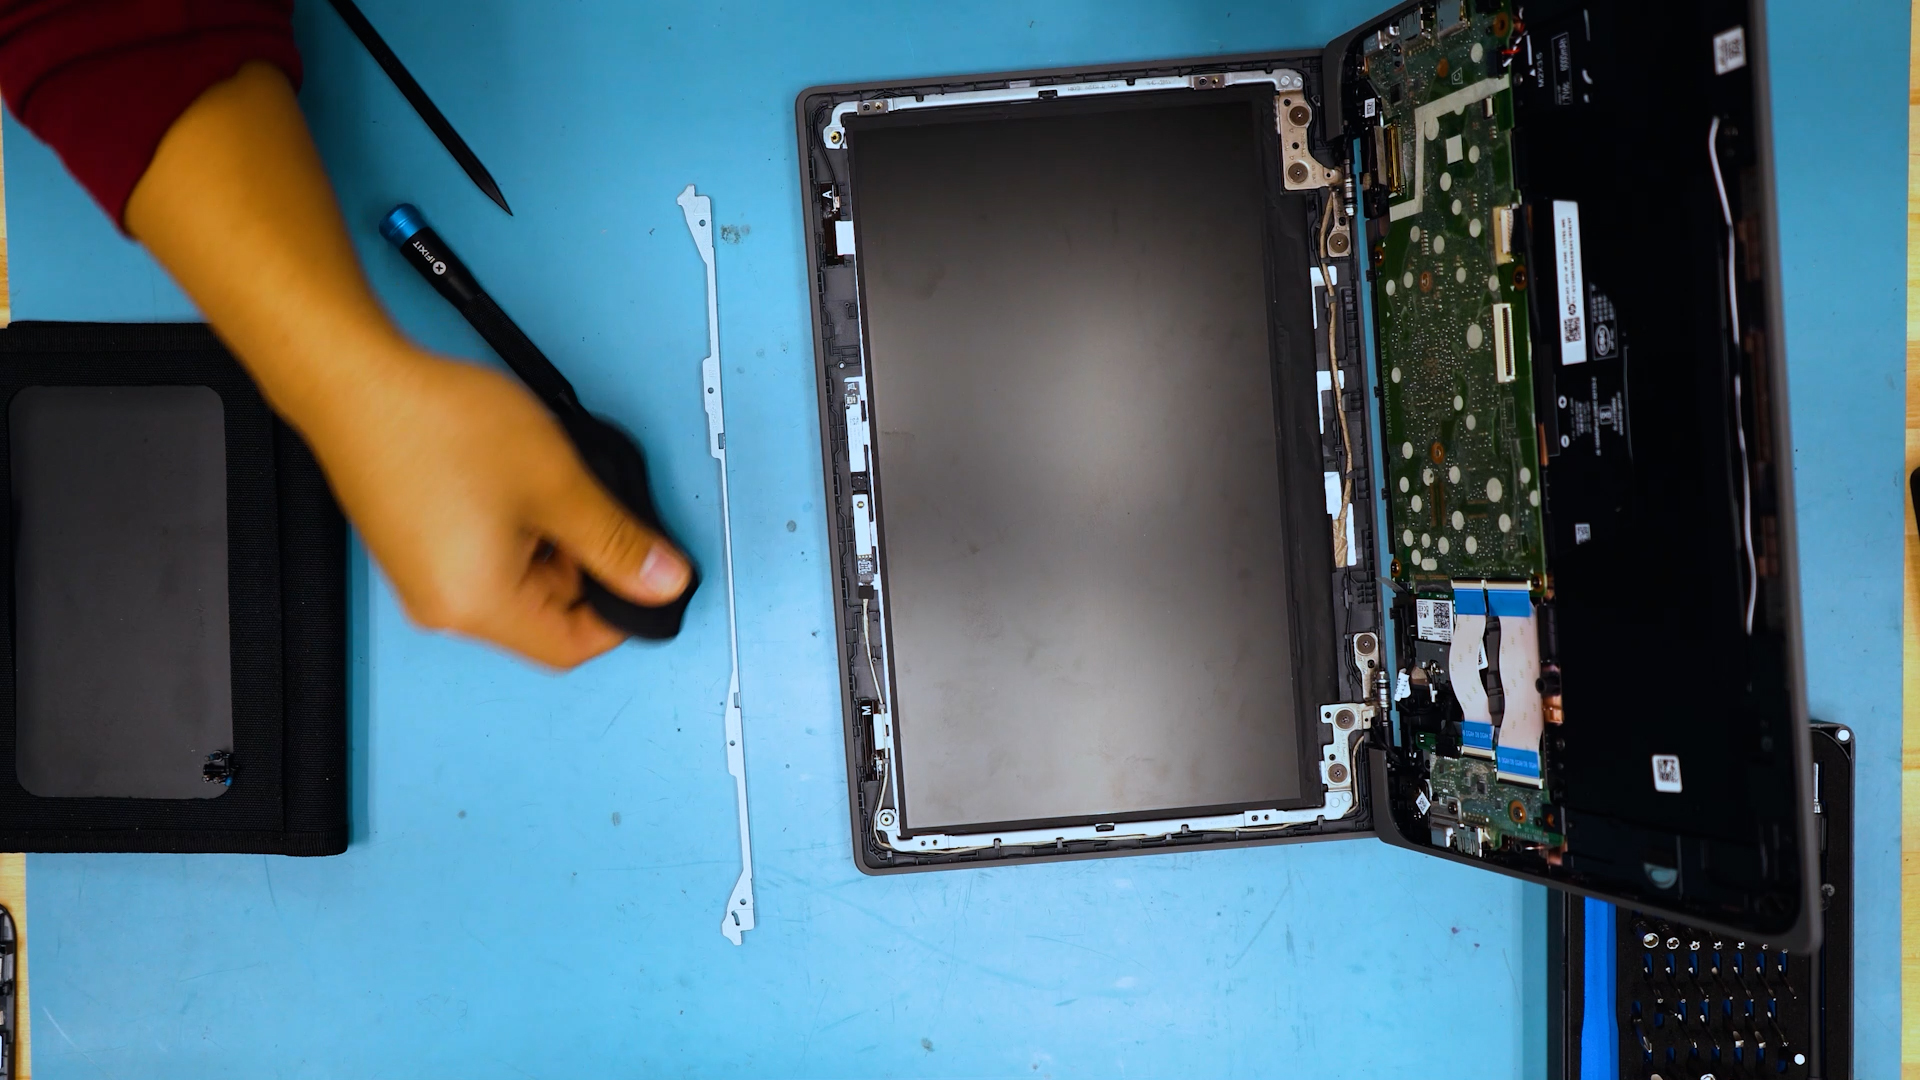
Step 2
-
Slowly lift the bezel from the inside and work your way around until the Bezel and Hinge Cover are separated
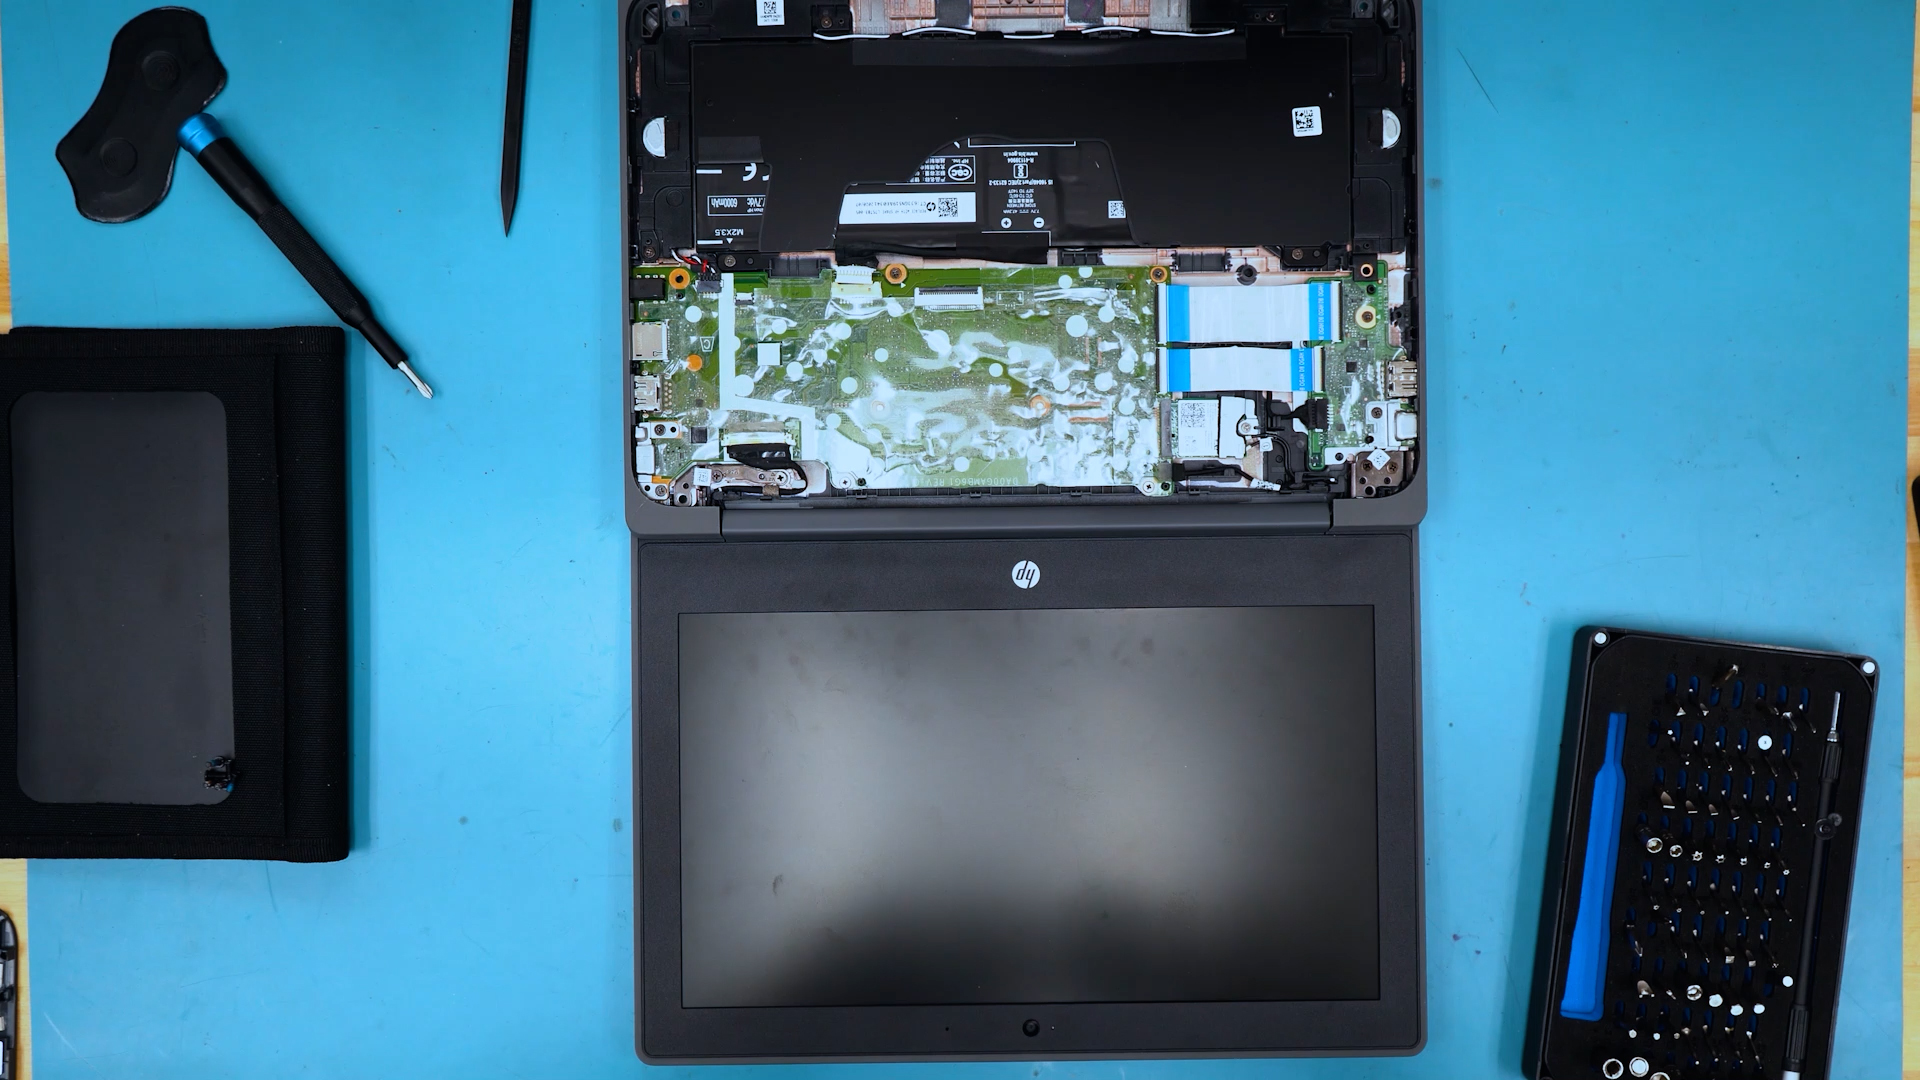
Step 3
-
Remove the 4 screws on the LCD and the 2 screws in the LCD Bracket
Step 4
-
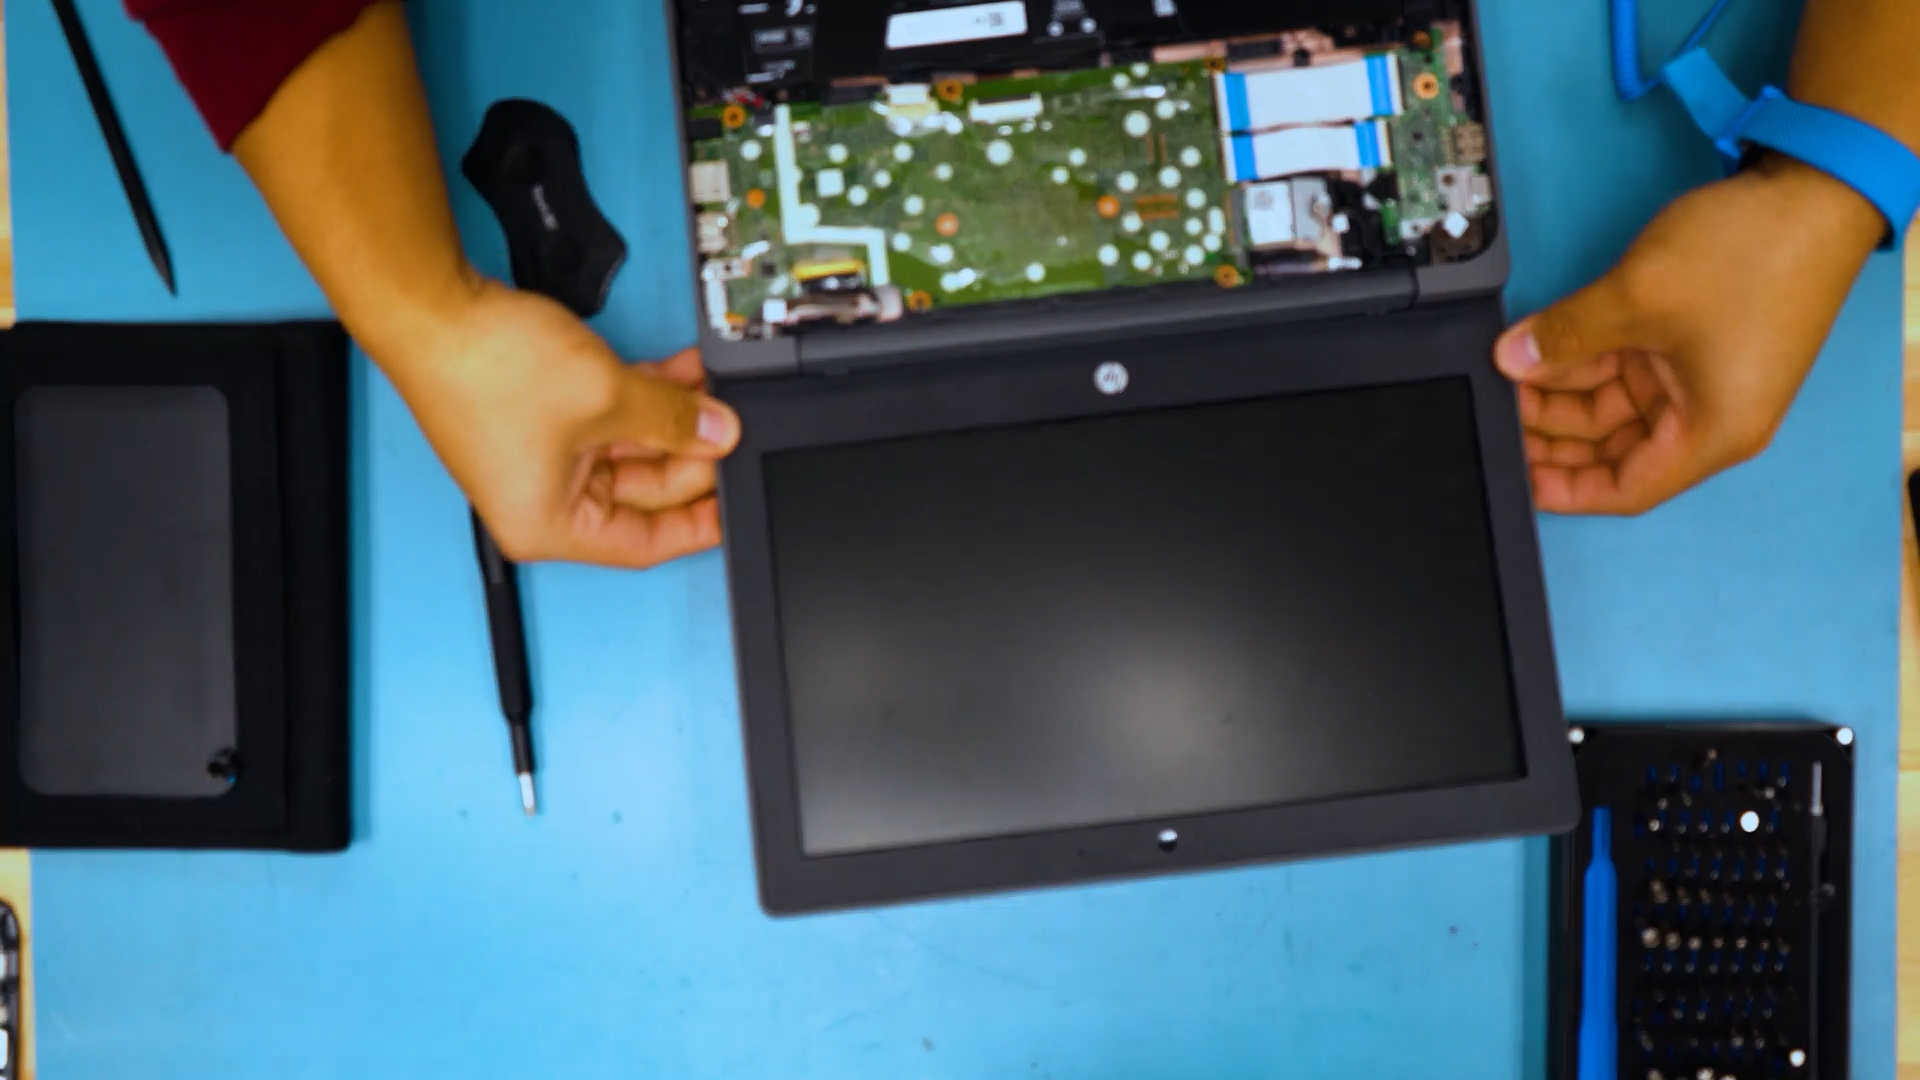
Remove the LCD Bracket and lay the LCD onto the Palmrest Assembly exposing the connector on the back
Step 5
-
Peel back the tape holding the LCD Cable in place, lift the cable bracket, and separate the cable from the LCD
Step 6
-
Grab your new LCD and connect the LCD Cable
Step 7
-
Seat the LCD and replace the 4 screws
Step 8
-
Replace the LCD Bracket and replace the 2 screws removed earlier
Step 9
-
Make sure the LCD Cable is routed correctly, and snap the Bezel back into place